Visual Affordance Toolkit
Custom prototyping kit for spatial UI
The Visual Affordance Toolkit is the set of Unity packages I built to solve problems and obstacles I faced building out prototypes during my time at Meta. They include shaders, C# scripts, animations, and scriptable objects that help in making complex interactive spatial UI & effects, and are based on methodolgies I’ve developed over time to create more modularity and reusability in my work.
The reasoning
Why make this?
One of the biggest challenges with designing for a VR OS is that there are very little examples in the world you can use as a guide or inspiration, and given the more direct connection to the human body and the immersiveness of the visuals, personal experiences and opinions can vary greatly. Creating working prototypes is paramount to understand if an idea will work or not, and iteration speed is incredibly important.
This toolkit helped me iterate faster, and it gave my prototypes a high degree of control, such that anyone trying it out could explore many different options without ever taking off their headset, allowing us to arrive at our decisions with confidence much faster.
There are three main components to the kit:
- parametric UI library & API (shaders, SDFs, techniques for procedural 2D graphics)
- VR parameter UI (easily allow developers to expose parameters and for people using the prototype to modify them)
- state machines (architecture for separating visuals from code that controls them, and for easily setting up states and transitions between them)
Parametric UI
Using signed distance fields and the Unity UI API, I could generate 3D quad meshes on the fly with custom vertex data to be used to procedurally draw a wide variety of shapes, patterns, gradients..etc. Over time I developed a growing library of shader routines to easily create more complex UI from combining different visual primitives
This brings a lot of upside at the cost of potential higher computational complexity:
- Easily modify visuals in real-time allowing for quick tests and iteration
- Easily create outlines & shadows for UI readability
- Dynamic UI properties - softness, aliasing, thickness…etc
- Highly controllable gradients
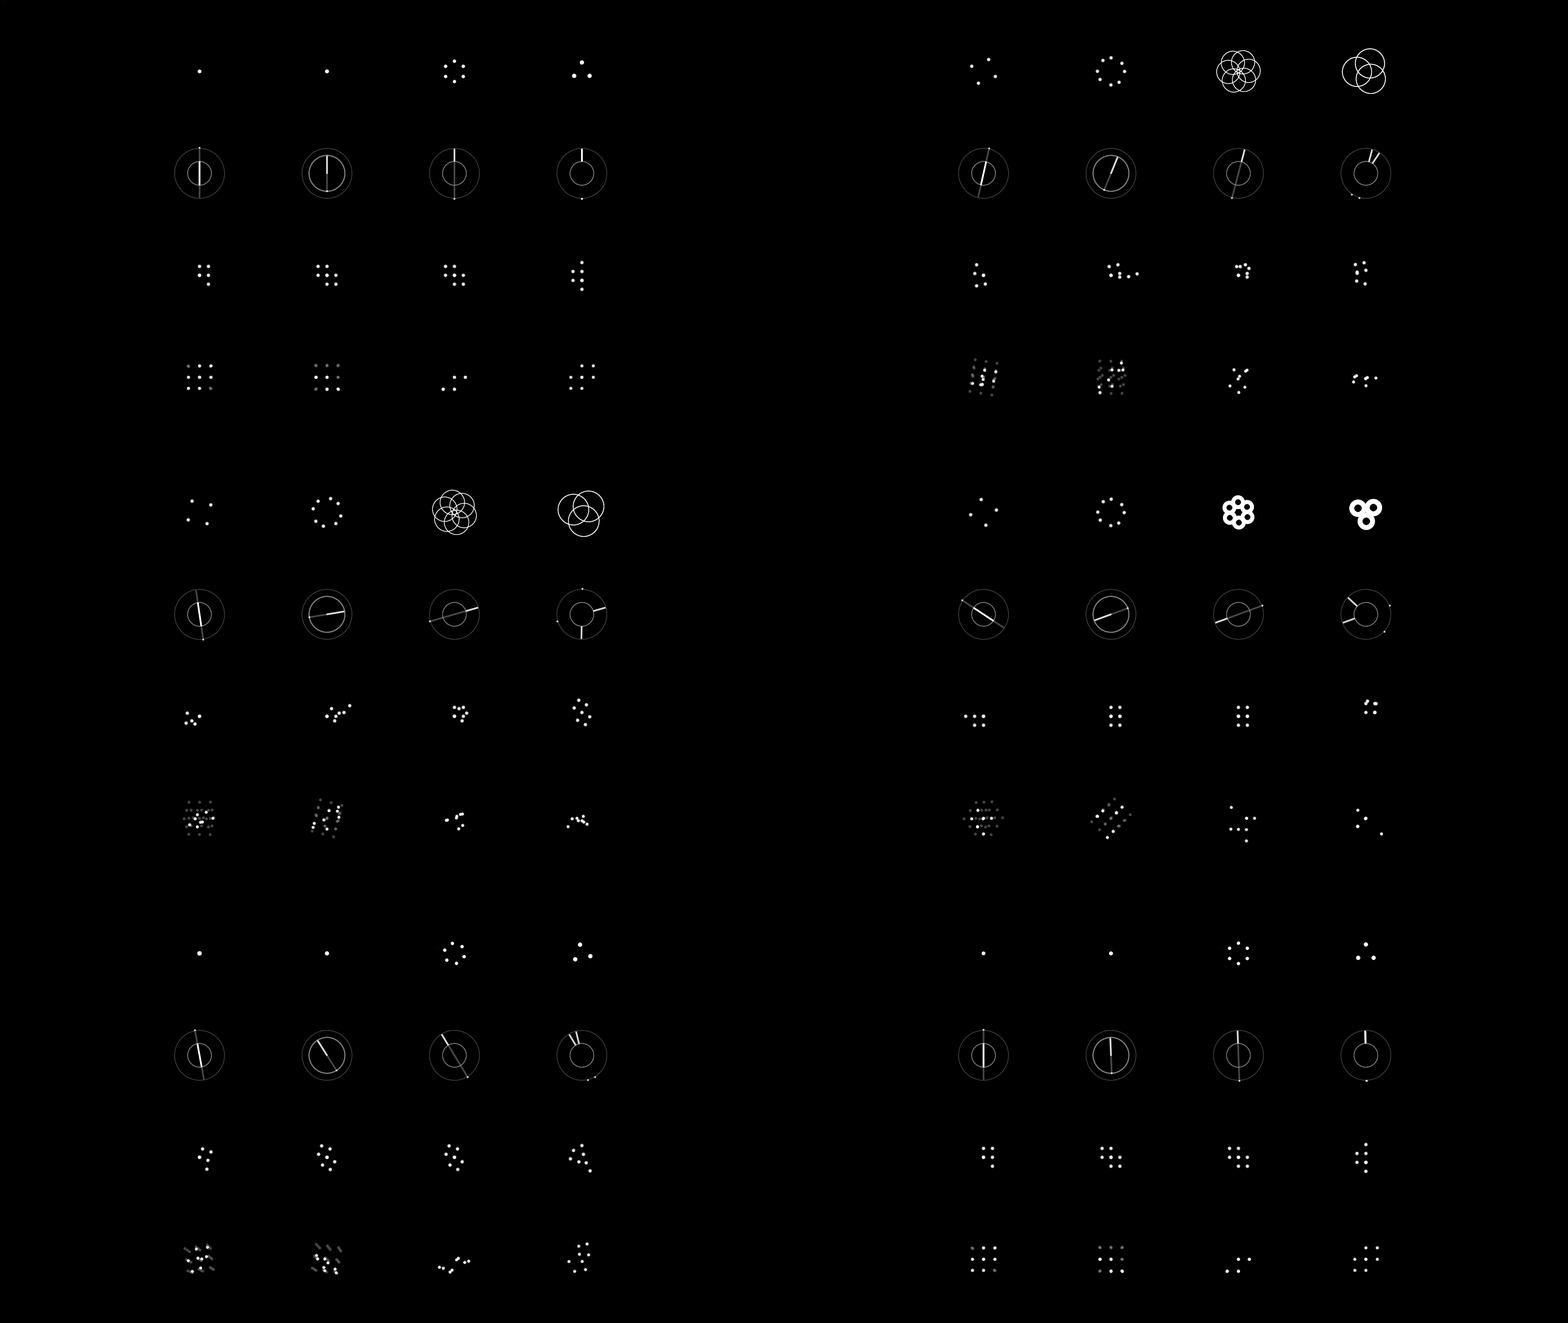
procedural UI (dots & glow) I created for the 'magnetism' feature, running in the Quest OS
VR Parameter UI
A big challenge with our work was the large amount of iteration and trial & error needed to test and refine our interaction design and UI. Having parametric UI systems is powerful, but you also need to allow others to explore that parameter space easily.
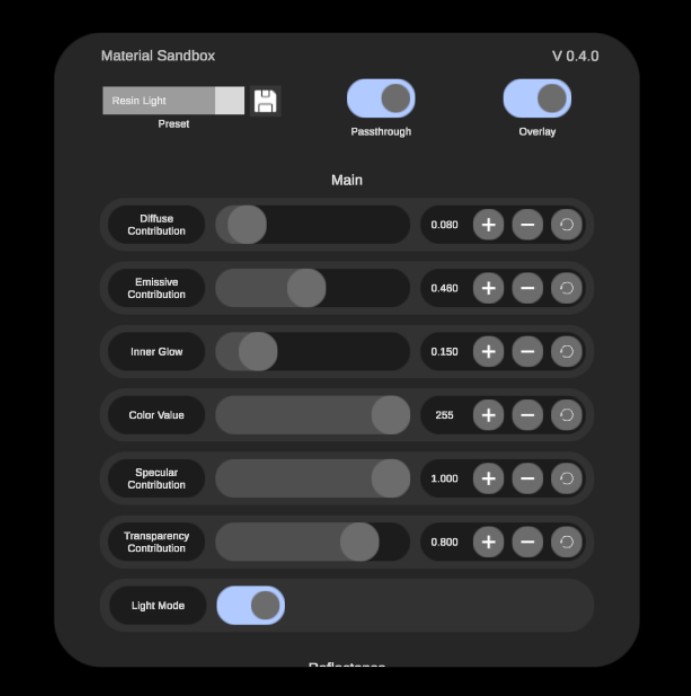
Live parameter editing system
Over time I built a Unity package to enable myself and others to easily expose parameters from any C# script, making it easy to set up any VR prototype with a floating UI panel of sliders, buttons, toggles, dropdown menus…etc to control any parameter desired. These parameter panels quickly became an often requested feature in my prototypes as they helped anyone very easily explore the option space we were designing.
Features included:
- All parameters are set up through scriptable objects, while connecting them to your code is done through the inspector using C# reflection
- Easily create and load presets of parameter values
- Organize parameters into groups for better organization
- VR UI panel is auto populated based on your parameter data, no manual setup required
- Separation of core parameter package from UI package in case you want to make your own UI
- Back and forth communication between parameter senders and receivers
Usage of the system in Unity
State machines
My approach to building out visual systems involves separating the core visual components (tasked primarily with controlling shader properties like opacity or color) from the state machine logic (e.g. when hovering, set opacity to 1, when pressing, set color to black…etc), from the input handling logic (when to use hands, gaze, controller, if input signals should be processed, etc).
Four categories
Variables First you define your variables, these are the parameters of your visual UI that will change based on state (e.g. size, color, brightness…etc)
States Next you define the different states your UI can occupy, for example hover and press on a button. Each state gives you fields for defining what the value of the variable will be for that state upon reaching it.
Motion Curves Motion curves are separate assets that define a curve and duration, like exponential out over .3 seconds. This way, motion curves are easily reasuable across the system, ensuring motion consistency. Motion curves can be used as interpolation for the value transitioning states, or it can be used explicitly to set the value (for example if you want let’s say a color to pulse white on press, it starts and ends on the same value but it still animates over time during the state transition).
Transitions Finally, transitions let you define which motion curves to use for which variables during any state transition. If you don’t define a transition, it will default to the default motion curve. Different variables can use different motion curves during a transition, and the transition duration will equal the max motion curve duration.